
Document folder - tutorial
A while back I mentioned that I was going to make a folder for travel documents before I went on holiday. I did, and I finished it on the eve of departure, but I realized that I have never posted about it. I took a lot of pictures while I was working on it to help remember the whole process if I wanted to make more, and that means I have the makings of a tutorial here :-) So if you want to make one, I'll walk you through it all. Here goes: You need three pieces of Fast2Fuse (a kind of stiff interfacing which is fusible on both sides. There is something called Timtex which is similar, but not fusible, so you'll have to use some fusible like Wonder Under or Bondaweb with it to attach the fabric). 2 pieces: 5 x 10" (- front and back) and 1 piece 3/4 x 10" (the spine). Butt the pieces up to each other and stitch together using a wide zig zag stitch so you end up with a piece which is 10 3/4" x 10 ". This is to make the folder easier to fold when it is finished, rather than using a whole piece.
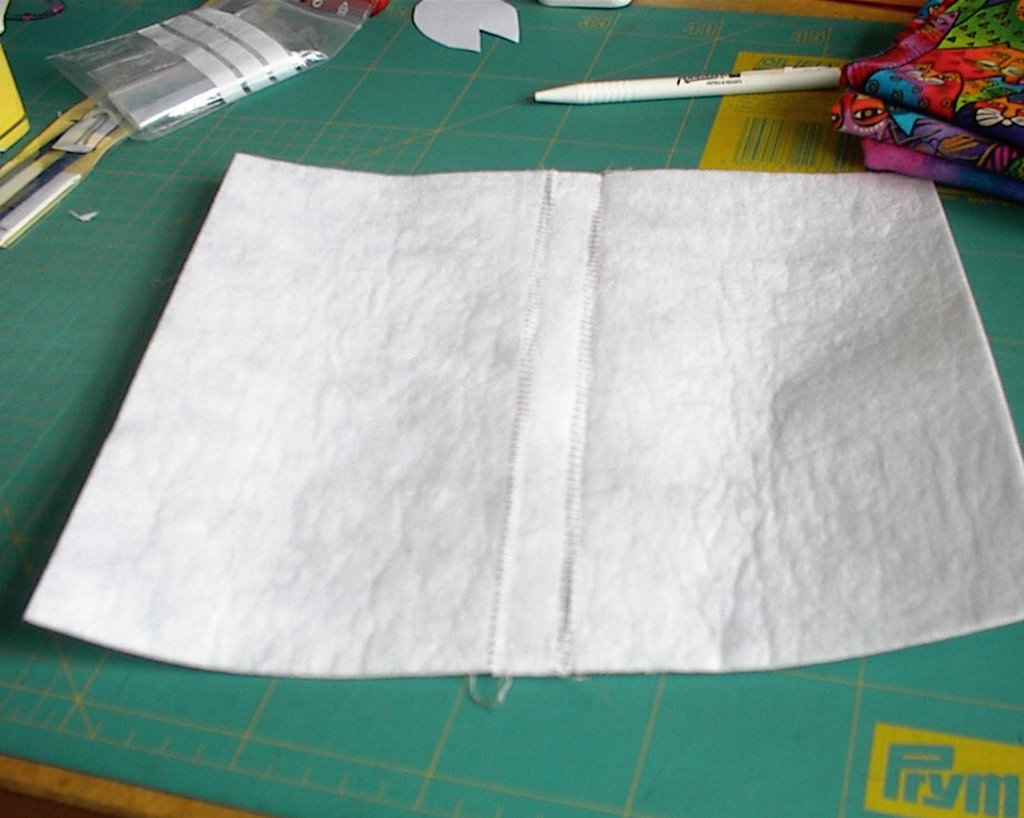 Iron a piece of fabric to each side of the Fast2Fuse, slightly larger than the F2F, and quilt the piece. Trim edges.
 For the pockets you need three pieces of fabric: 9 1/2 x 15", 7 x 11" and 5 1/2 x 7". You may adapt the sizes to your needs. Iron fusible interfacing to the back of all pieces. I cut mine 1/2" smaller in both directions to get less bulk at the seams.
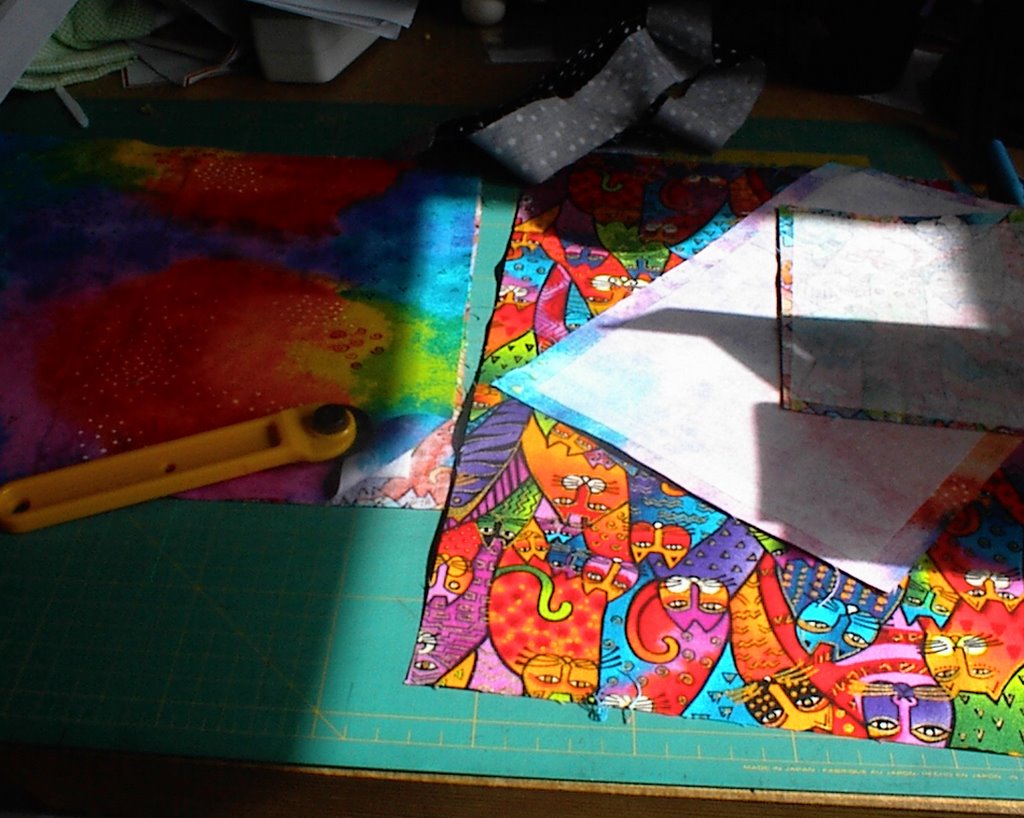 Fold all three pieces in half right sides together and stitch along sides and bottom, leaving an opening, clip corners and turn pieces inside out. Press. You will now have three pieces with finished sizes 9 x 7 ", 6 1/2 x 5 " and 5 x 3 ". To make them more sturdy, stitch a narrow seem along the edge on both sides and top + a seam ca 1/4" from the edge (leave the bottom edge unstitched for now).
 Place the three pockets on top of each other as shown in the picture below. The two smaller ones are aligned along the bottom (tuck the seam allowances inside) and then placed 1/2" from the bottom of the largest one, and centered. Stitch the two smaller ones to the large one with a seam along the bottom edge. The bottom of the largest pocket will be aligned to the bottom edge of the cover.
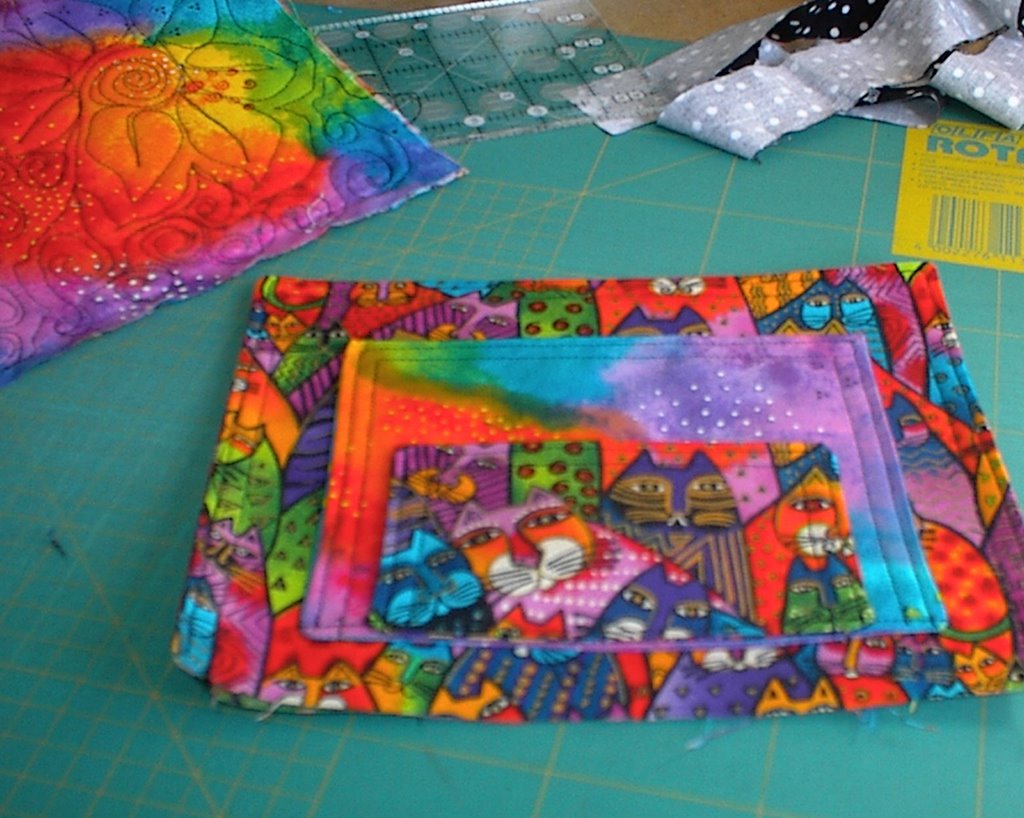 The pockets should be stitched together along the bottom line only.
Align the three pocket pieces along the bottom of the cover piece and pin (measure out from the middle, so they are centered). Make sure that you have the side of the cover you want to be on the inside facing up. If you have a fabric on the outside where the direction of the pattern is important, make sure that the pockets are aligned to the bottom edge of the cover - you don't want your cats or whatever to be upside down! Find the ridges that mark the two seams in the Fast2Fuse and mark these with pins along top and bottom edges. Draw a chalk line from top to bottom along both and stitch on these lines through all the layers. This forms the spine of the folder, and also becomes a pocket for your pen.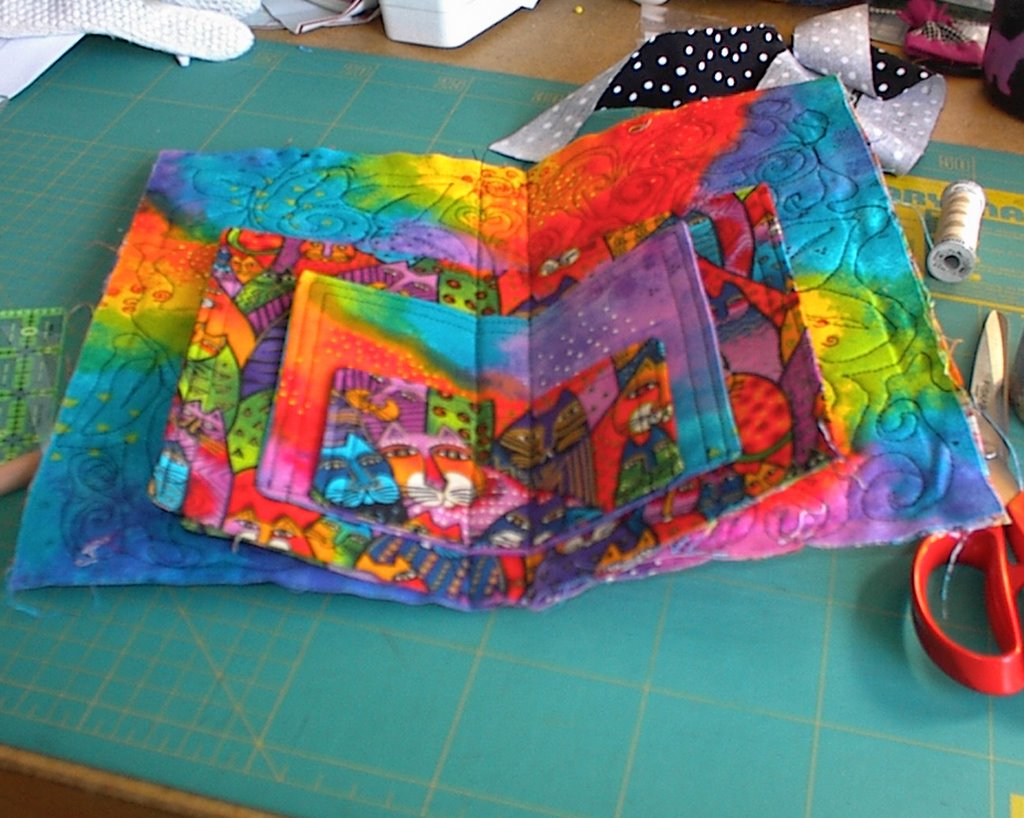 Your folder should now look something like this. I won't pretend to be an expert when it comes to stitching zippers, but here's what I did anyway. I used a binding strip on each side to cover the edges of the zipper. Cut three strips from full width of fabric 1 1/2" wide and join them to form one long strip. For perfectly rounded corners you might want to make this a bias strip, but I was in a rush and fudged it a little, so I used strips cut on the straight of the grain and managed to make passable corners anyway... I rounded them ever so little to make this easier.
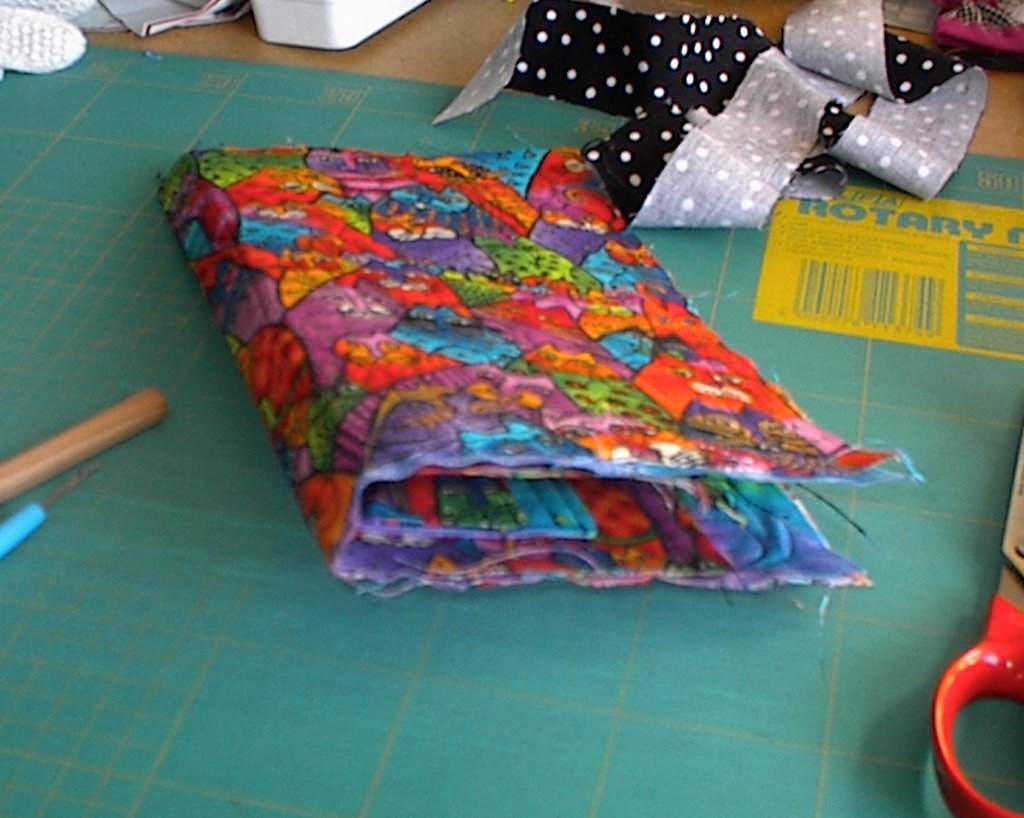 Fold a length of binding in half right sides out and pin it along the outer edge on the outside of the folder. Fold in one end about 1/4 " and cut the strip to length, letting the other end overlap by 1/2". Tuck this end inside the beginning of the strip. Stitch all the way around with a seam allowance slightly less than 1/4" making sure to ease the fabric strip around the corners so it doesn't become too stretched or too puckered.
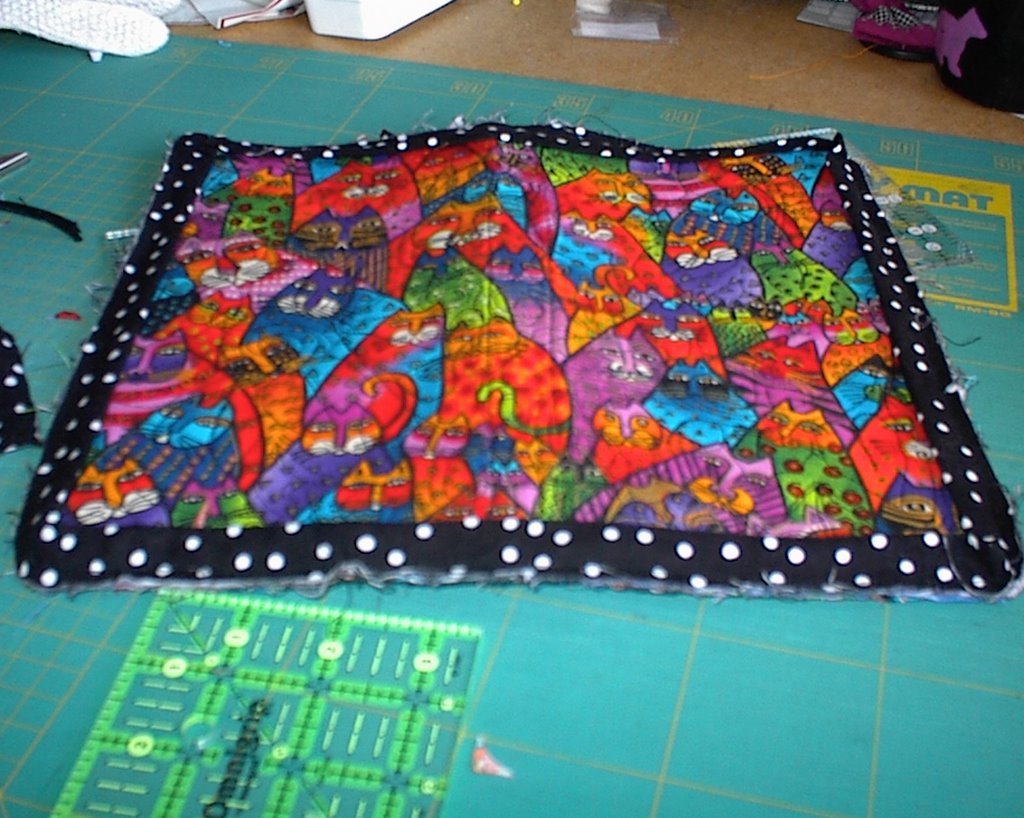 Open the zipper ( a 22" one) and pin it around the edge on top of the binding strip, starting in the middle at the bottom.
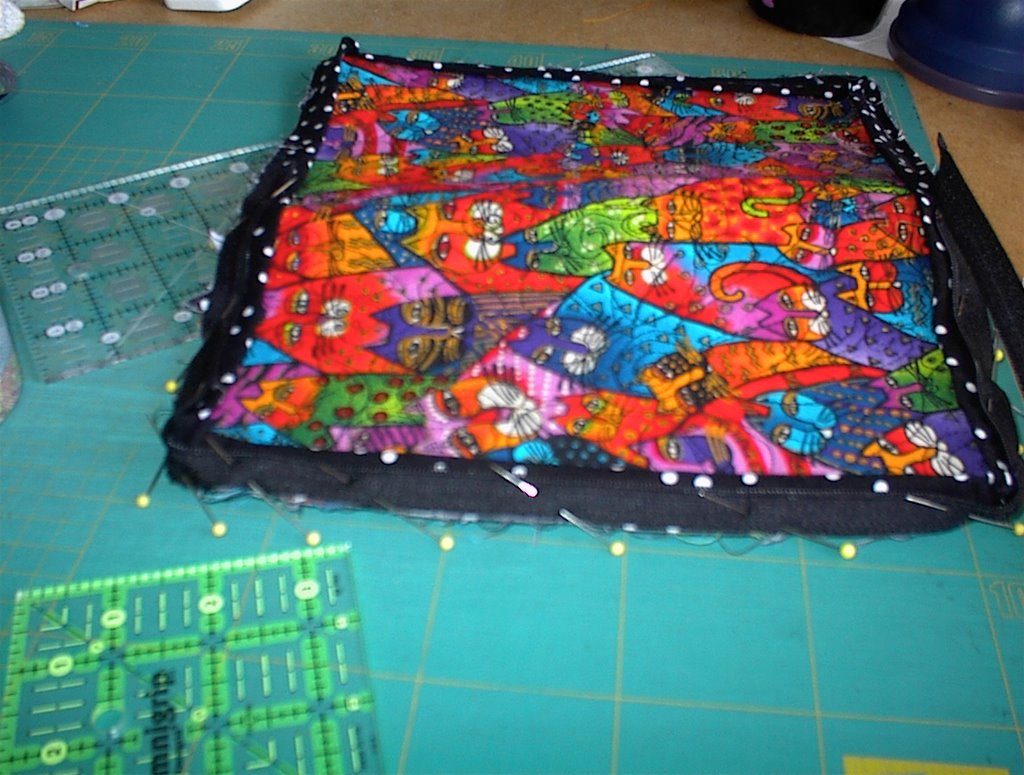 Pin the remaining binding strip on top of the zipper, wrong side facing up, tucking one end inside the other as before. Stitch all the way around the outside edge using a 1/4" seam allowance.
  Now for a bit of hand stitching: Fold the edge of the last strip over so it meets the edge of the folder, then over again, so it ends up covering the seam on the inside. Pin and hand stitch to the fabric on the inside, making as neat a finish as possible. The Fast2Fuse is a bit stiff and akward to handle, and a thimble might be helpful. The binding on the outside should also be folded down and stitched to the fabric on the outside, leaving a "lip" to cover the zipper almost to the "teeth".
 Then it is time to put your tickets, passport, travel insurance card, business cards, pen and whatever in your folder, zip up and you are ready to go!
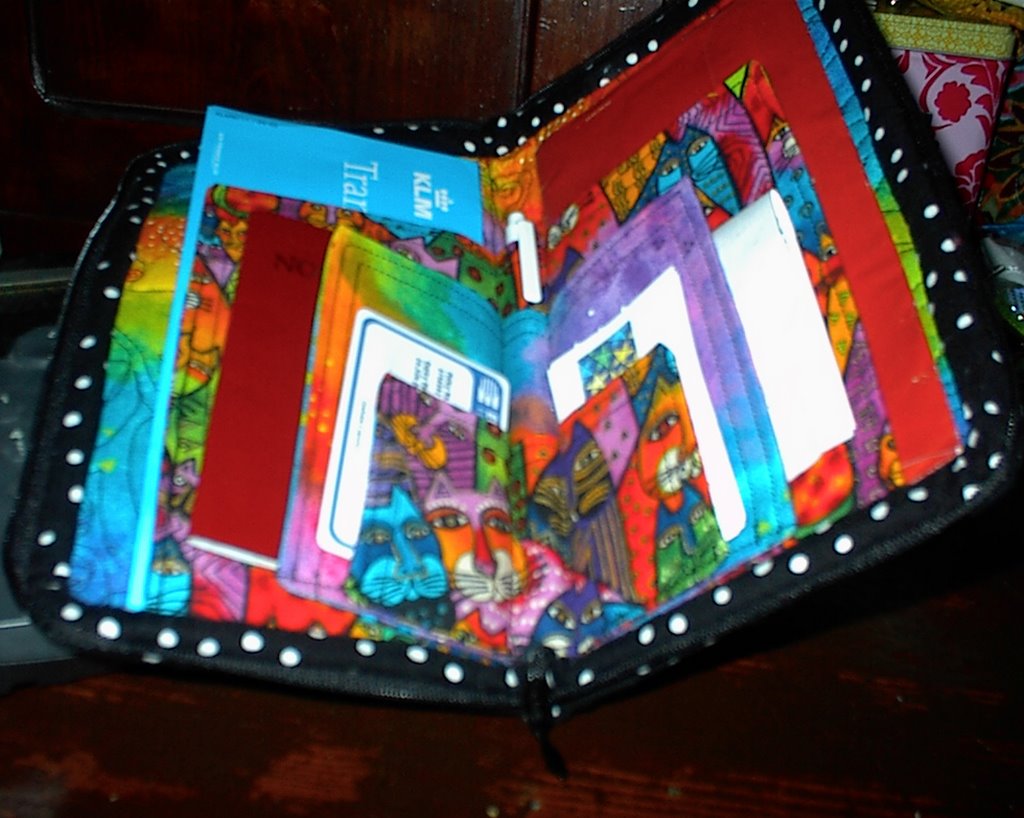
I hope this made sense, but if anything is unclear, please ask and I'll try to improve my explanation. I found this folder quite handy to carry my important documents in - it was big enough so I didn't have to fold things too much, and it was easy to find in my purse (always a challenge...), but not so big that it got in the way.


3 comments :
The instructions look pretty clear to me from just reading them. I would probably sew the zipper between the two binding strips before sewing them to the folder or would that not work for some reason that is not clear to me from just looking at the instructions? I'll have to try it and see. Great looking folder.
That is great looking, I am going to make me one before going to Spain next September. Thanks!
Joyce - I see your point :-) I suppose I could have done it the way you describe, but I was worried that I'd not have enough control so that I'd run the risk of not catching the zipper in the seam. I'm going to blame it on being tired because I typically had left the construction of this thing until the day before departure, when there really were enough other things to keep me occupied... :-D
Post a Comment