WIP coming together

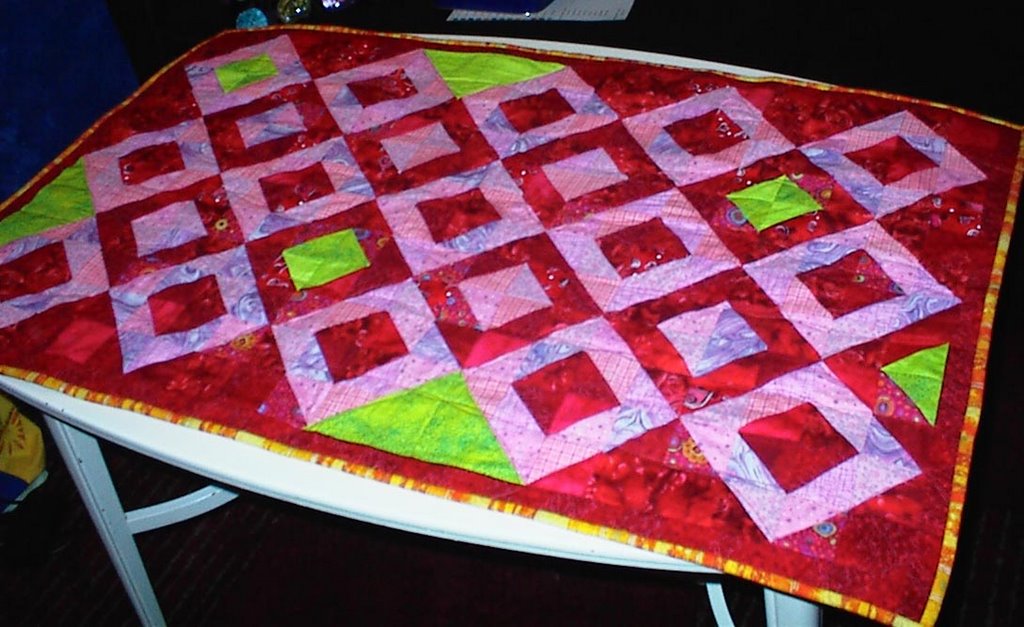
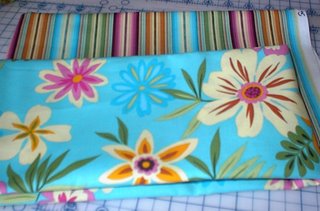
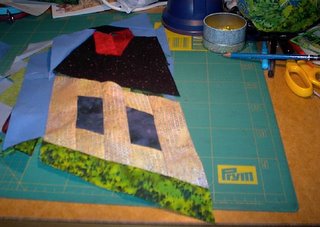
I have added another photo to the WIP pool. I have been busy this week - I only have the top and bottom border to add and the top is finished! However, my back didn't agree with me about spending more time at the sewing machine, so the rest will have to wait until tomorrow. I had made very little progress on the quilt until last Friday, but joining the WIP group really spurred me on to do something about this project, so thank you Fiona at hop skip jump for creating the group :-) Now, if only I could find out how to make my photos visible for everybody - it seems you have to be logged on and a member of the group to be allowed to view my photos in the group pool, even though I've marked them as public. I must go and explore Flickr some more, I think...  Here's a close-up of the floral fabric. As I was photographing it, it occured to me that although in my mind this has been my "Café de Paris-fabric" ever since I bought it, those words are nowhere to be found on the fabric. There are several French-sounding café-names, though, but my mind seems to have played a trick on me - oh well, I could just call it my café-quilt, I suppose...
The blue fabric I have used as a background for the hearts looks very bright in this picture. It is actually more like faded denim and goes well together with the soft florals, I think. I will add the final borders tomorrow and then it's time to get my backing fabrick out of hiding. I only hope it works as well with the rest of the fabrics as I think it will. Or maybe my mind has played another trick on me... ;-)

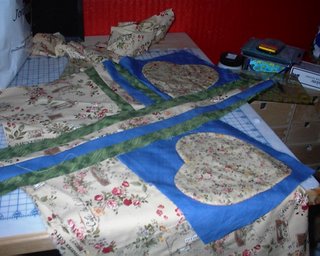 This is one of the projects I'm working on at the moment. I fell in love with (can one fall in love with fabric?) the Café de Paris print in the foreground with flowers and café signs - very romantic! - and bougt several yards of it. I'm making a lap quilt with six blocks with big appliqué hearts set on point, alternating with blocks of the café print and with sashing in between that will give the effect of a trellis lying on top of the blocks - sort of a 3D effect - I hope... I have only one heart left to appliqué and then I'll start stitching the whole thing together.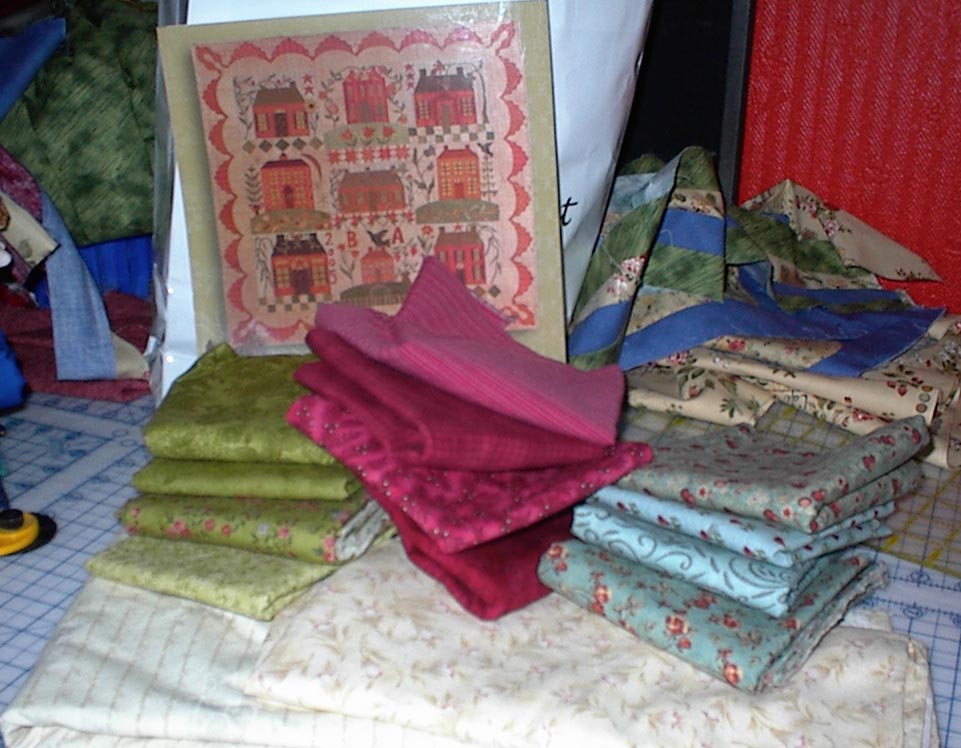


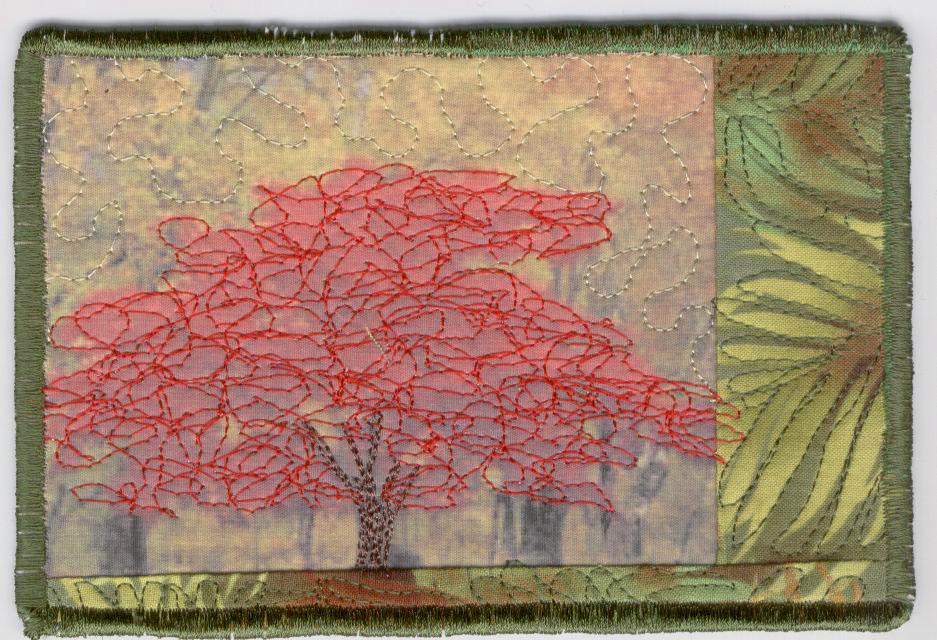
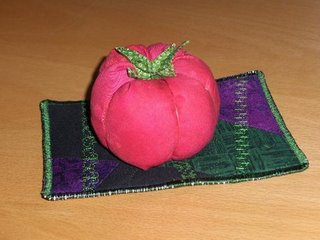 The picture at Martha's reminded me of long summer days in the country with my grandparents when I was a child. On Saturdays we kids used to walk to the nearest farm and use our allowance to buy left over tomatoes from the weeks pickings. Our fistful of brown coins would be exchanged for a big brown paper bag filled to the limit with these lovely juicy "sweets" in all sorts of odd shapes and shades. I can still remember the taste when biting into a tomato still warm from the sun: like liquid sunshine. We'd start eating them on our way home (in spite of gran's instructions to wait until after dinner) and by the time we got back we'd have little room left for dinner. We'd have tomatoes with our lunch for the rest of the week, but nothing could rival that first bite on the way home. Forbidden fruit, mmm ;-) But I digress - I was talking about pincushions. I also recieved one from the same exchange. A lovely star-shaped one with lots of machine embroidered details:
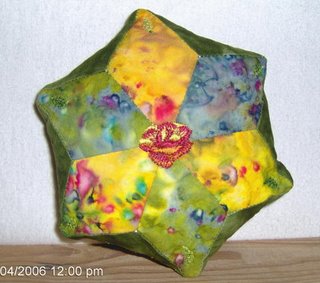 The yellow and green fabrics are bali fabrics with a gold scroll print on top on one side, which really gives you two different fabrics to play with (I have the same one in pink and turqoise, that's why I know!) and here it is used to great effect with the gold side out on one side of the pincushion and the "plain" side (which really is the most beautiful one) on the other side. What a lucky girl I am - thank you Camilla!


 I am working on the teapot one as a present for a friend,


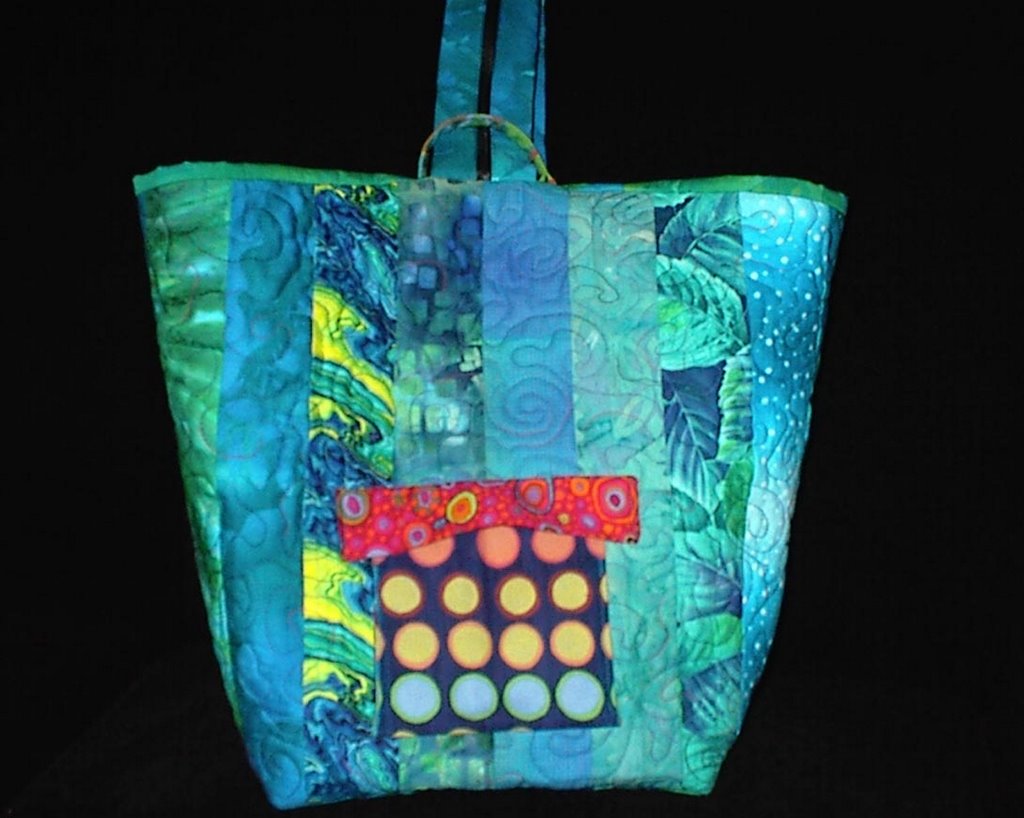


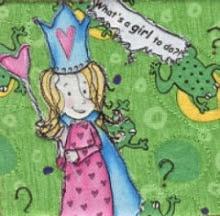
 only to realise that I was supposed to quilt only the top fabric and batting, and leave the lining to stitch the inner pockets on, before I sew the quilted piece and the lining together. Sigh! This is why I usually don't use patterns. No way am I taking the quilting stitches out, and a new separate lining is no option. I wont hide the great "Drama Queen" fabric from Michael Miller designs, so new solutions are called for.
  I will try to stitch the outer pockets on through all the layers and the inner pocket will be stitched on by hand through lining and batting so the seam doesn't show on the outside. I will have to add binding strips along the edges, but I think I might make it work. And it will be my very own version of something that started out as a standard pattern. Who cares! I think I might prefer the bag this way actually - no loose floppy lining and a much firmer bag will be the result. I think. At least that's my story and I'm sticking to it!






 Posts
Posts